 8.6 out of 10 based on 81026 reviews







.svg)
.svg)
.svg)
.svg)
.svg)
.svg)



 Mushroom Dosage Calculator


 Help
Help United States
 9 min
9 min
How To Fertilise Hot Pepper Plants



There is a fine art to providing your plants with all the nutrients they need. Here's a breakdown of why and how to use fertiliser to maximise the potential of your pepper plants. Trust us; your chillies will thank you. Giving them the right nutrients, at the right times, makes all the difference.
When cultivating chilli peppers at home, it’s essential to provide your plants with everything they need to flourish at every point throughout the growing season. This goes much further than just supplying them with water, warmth, and light; Capsicum plants often need a little helping hand in the form of fertiliser to perform to the best of their ability. But what fertiliser should you go for, and how much should you administer? Don’t worry! Getting the feed right is the difference between a leafy plant and one loaded with top-quality hot peppers, and it’s simpler than it sounds. For a broader overview of the whole grow, from seed to harvest, see our step-by-step guide on how to grow chillies.
What is the best fertiliser for hot pepper plants?
With so many fertilisers on the market today, it can be a little tricky to figure out which are most suitable for your pepper plants. It’s possible to purchase time-release fertiliser to feed your plants throughout their entire grow cycle. However, this isn’t a viable option for all plants. Before looking to purchase additional fertiliser, it’s best to test the nutrient level of your soil first. After all, the nutrient content of organic compost is going to be very different from that of the soil in your garden. From here, you can fine-tune precisely how much, and of what kind of, fertiliser to use, without damaging your plants.
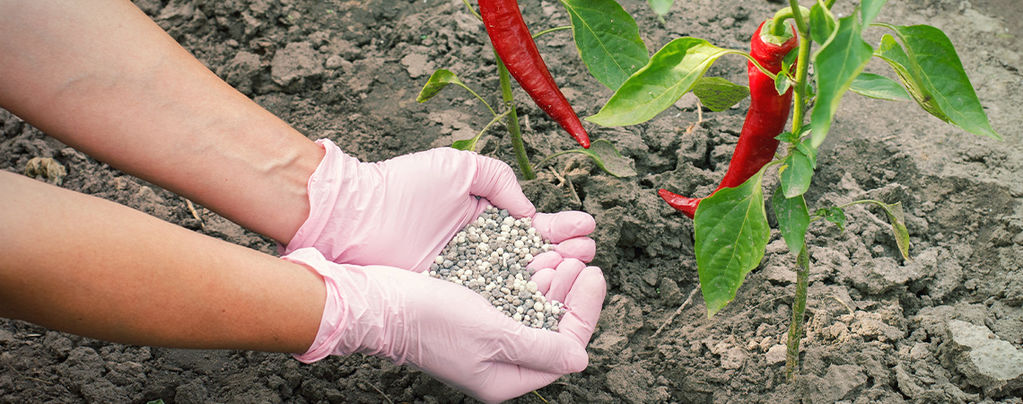
The most common fertilisers contain the macronutrients nitrogen, phosphorus, and potassium. When administered, they provide almost everything your plant is after, allowing them to flourish effortlessly. When browsing for fertilisers, you will regularly see three numbers in a row; 5-10-10, for example. These represent the percentage of nitrogen, phosphorus, and potassium, respectively, per bag. While these numbers can vary among different products, it’s a uniform and easy descriptor to keep an eye out for when browsing for fertilisers.
Organic vs synthetic fertiliser for edible peppers
One decision worth making early is whether to feed with organic or synthetic fertiliser, and it matters more with chillies than with a crop like cannabis, because you’ll be eating the fruits, often raw. Both approaches can grow a healthy plant, but they behave differently.
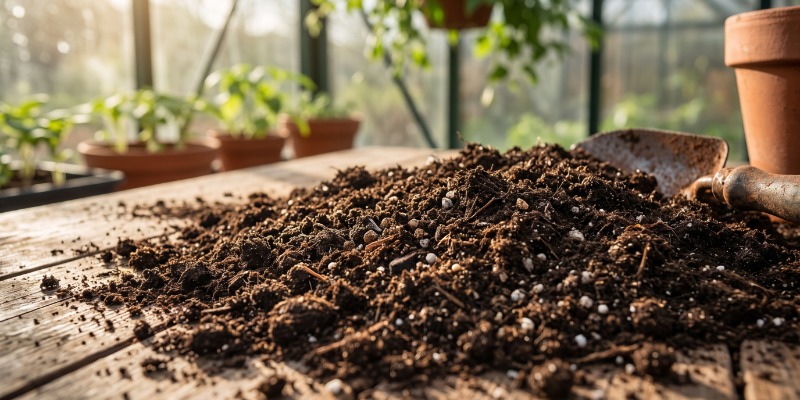
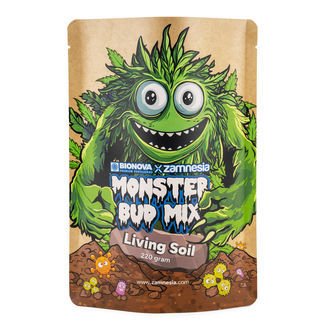
Synthetic (mineral) fertilisers deliver nutrients in a fast, readily available, precisely measured form. They act quickly and make it easy to dial in an exact NPK ratio, but they feed the plant rather than the soil, and it’s easier to overdo it and scorch roots or build up salts. Organic fertilisers, such as compost, worm castings, or an all-in-one mix, release their nutrients more slowly as soil life breaks them down. They’re far more forgiving, improve soil structure and microbial health over time, and are a natural fit for something you’ll harvest and eat straight from the plant. For most home growers raising peppers for the kitchen, a quality organic base is the easiest and safest starting point. Our own Monster Bud Mix, part of the Zamnesia Monster Buds range, is a natural, vegan, all-in-one granular fertiliser that works just as well for fruit and vegetables as it does for cannabis and ornamentals: mix it into the soil before planting and it feeds the plant for months.
Primary and secondary nutrients
We’ve touched on the key nutrients already; here’s what your pepper plants actually need to survive and thrive, and how each one helps.
By dividing nutrients into primary and secondary categories, we can get to the bottom of what your plants are hungry for.
Primary nutrients
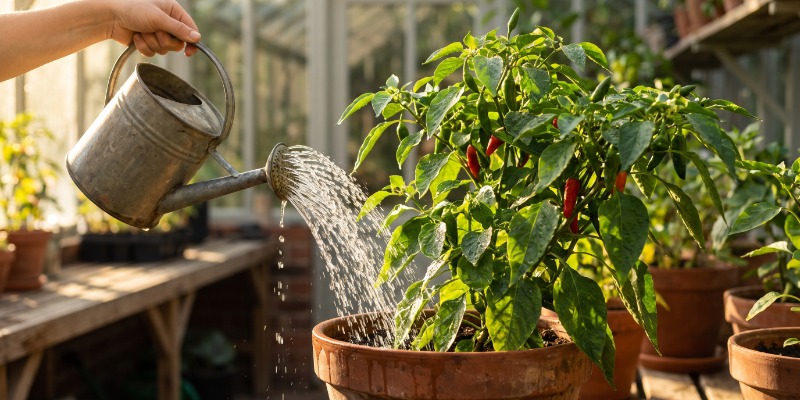
Let’s start with the macronutrients, those your plants need in the highest quantities.
Nitrogen
Essential to the photosynthesis process, nitrogen is a hugely important element in the production of foliage and maintenance of overall plant health. Oftentimes, soil tends to be deficient in nitrogen, so it’s essential to get the levels right so your pepper plants get off to a good start. A classic sign of nitrogen shortage is yellowing of the oldest, lowest leaves first, as the plant moves this mobile nutrient up to newer growth.
Phosphorus
Phosphorus allows your plants to absorb energy from the sun for a much healthier and more resilient growing cycle, and it’s especially important for root development and for setting flowers and fruit. A telltale sign of phosphorus deficiency is a purplish tinge on stems and on the undersides or veins of leaves.
Potassium
Potassium regulates growth and ensures the movement of water, nutrients, and carbohydrates throughout the plant itself. Without proper levels of potassium, photosynthesis can be negatively impacted. It plays a leading role during flowering and fruiting, when demand for it climbs. Shortages often show up as browning or scorching along the edges of older leaves.
These are just the headline symptoms. For a full visual rundown of what each deficiency looks like and how to correct it, see our dedicated guide to nutrient deficiencies.
Secondary nutrients
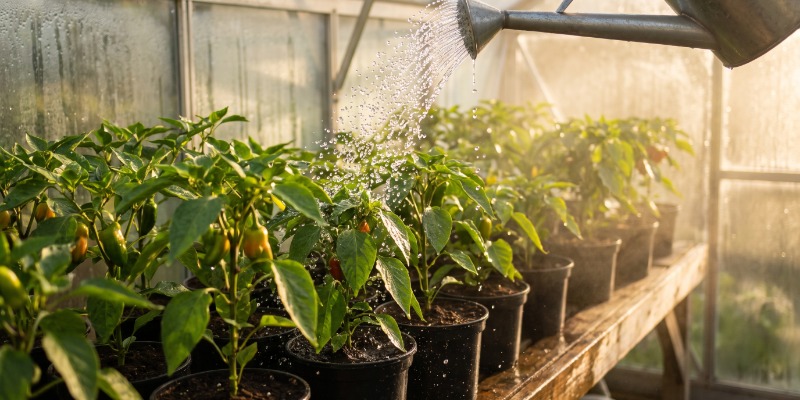
Although deemed “secondary”, these nutrients are just as important as those above, only they’re needed in smaller amounts.
Calcium
Calcium promotes robust development within pepper plants, and is vital to the overall health of your plants. It’s unusual for soil to be low in calcium, but it can be easily amended through the use of bone meal. A calcium shortage often shows itself as blossom-end rot, where the bottom of the fruit turns sunken and dark.
Magnesium
Magnesium is vital to chlorophyll production, germination, and fruit production. To promote better health for your plants, magnesium should be used sparingly, as too much can cause irreparable damage, and too little can stunt growth as well. A fine balance is needed to ensure the best conditions for the plant.
A note on Epsom salt
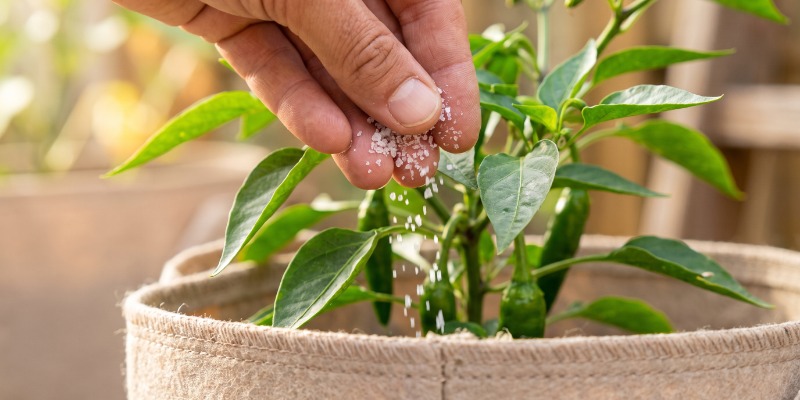
To provide plants with a huge hit of magnesium, some turn to Epsom salt. However, this is a hotly disputed method of delivering nutrients to plants. While some believe it helps to improve pepper production and reduce the risk of blossom rot, others suggest the massive surge of magnesium damages the plant, causing issues such as leaf scorch and even impacting the flavour of the resulting peppers.
With that said, we don’t recommend it. The main reason is that blossom-end rot is far more often a calcium problem (or a watering problem that stops the plant taking up calcium) than a magnesium shortage, so reaching for Epsom salt usually treats the wrong cause. On top of that, a sudden flood of magnesium can throw off the balance with calcium and potassium and lock those nutrients out, doing more harm than the deficiency you were trying to fix. If your plants genuinely need magnesium, a balanced fertiliser that already contains it is a safer, more controllable way to supply it.
How often should you fertilise hot pepper plants?
Timing matters as much as quantity when it comes to fertilising pepper plants. As mentioned, overdoing it can only lead to damaged plants and subpar fruits. The best regime is simpler than it looks.
As a rule of thumb, fertiliser should be administered either every week or fortnightly. This often depends on the type of fertiliser being used. Thankfully, the packaging on your product’s container should offer sufficient guidance in terms of timing. Be sure to follow the recommendations and keep a strict schedule, and you can’t go wrong.
A feeding schedule by growth phase
Beyond how often you feed, it helps to know what to feed at each stage, because your plant’s nutritional needs shift as it grows. As a practical guide:
- Seedling and early growth: keep feeding very light and well diluted. Young plants need little, and too much this early does more harm than good.
- Vegetative phase (leafy growth): favour nitrogen. This is when the plant is building foliage and structure, so a fertiliser with a higher first number (N) supports strong, bushy growth. A balanced or slightly nitrogen-forward feed works well here.
- Flowering and fruit set: shift towards phosphorus and potassium and ease off the nitrogen. Once flowers appear, the plant’s priorities change from growing leaves to producing flowers and fruit, and a feed with higher P and K numbers supports better fruit set and healthier pods.
A key rule that trips up many growers: don’t keep pushing nitrogen once your plants start flowering. An excess of nitrogen during the flowering stage encourages the plant to keep producing lush green leaves at the expense of flowers and fruit, leaving you with a big, leafy plant carrying disappointingly few peppers. When flowering begins, that’s your cue to switch to a bloom-focused feed.
Feeding in pots vs open ground
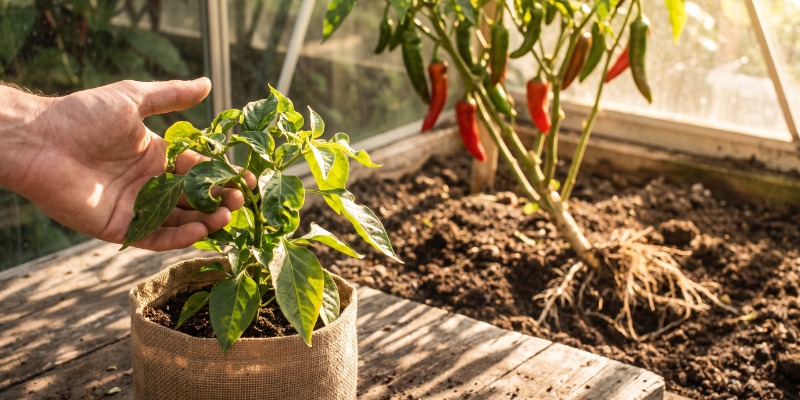
Where you grow makes a real difference to how you feed, and since most home growers raise their chillies in pots or containers, it’s worth spelling out. Container plants have only a small, finite volume of substrate to draw from, and frequent watering constantly flushes nutrients out through the drainage holes. That means potted peppers rely on you almost entirely for their nutrition and generally need feeding little and often. Plants grown directly in the ground, on the other hand, can send their roots out in search of nutrients and benefit from the soil’s natural reserves and buffering, so they typically need feeding less frequently, though enriching the bed with compost before planting still pays off. Whichever you choose, potted plants will always need a closer eye on their feeding schedule.
When to fertilise chilli pepper seedlings?
Feeding plants that haven’t had the time to develop will undoubtedly spell disaster. With this in mind, it’s best to wait roughly two weeks after the seed has sprouted, or when it’s produced its first set of true leaves, before administering nutrients. This is a clear indicator that the plant is ready to receive inputs to ramp up growth.
Of course, smaller plants won’t need a huge amount of nutrients, so keep this in mind when starting your schedule, and adjust accordingly as your plants develop. In other words, start light, diluting the fertiliser while the plants are young, and then increase as they begin to flourish.
Feeding and spiciness: Can fertiliser affect heat?
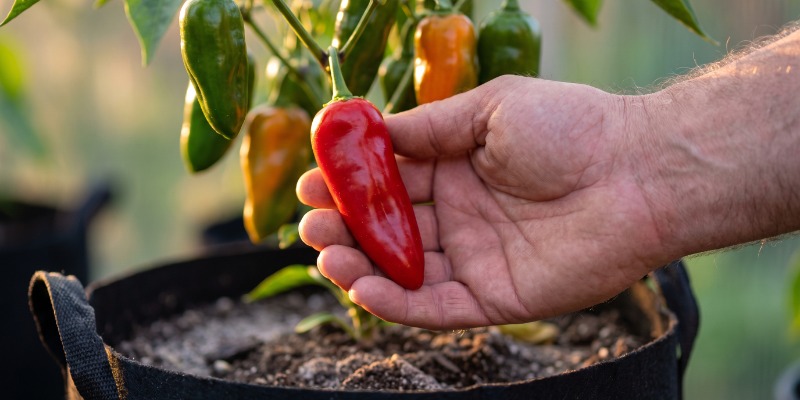
For many chilli growers, heat is the whole point of growing their own, so it’s worth knowing how feeding fits in. The baseline heat of a variety is set by its genetics and measured on the Scoville scale, so no fertiliser will turn a mild pepper into a superhot. What your growing conditions can influence is how fully that genetic potential is expressed. Letting the fruits ripen fully on the plant is the single biggest lever for heat, and a little controlled stress late in the grow (slightly less water, not overfeeding) tends to concentrate flavour and pungency rather than dilute it. Drowning plants in nitrogen produces lots of leaf and watery, milder fruit, which is another good reason to ease off nitrogen once flowering begins. In short, you can’t out-feed genetics, but a balanced bloom-stage feed plus patience at harvest gives each variety the best chance to reach its full, fiery potential.
How to fertilise hot pepper plants
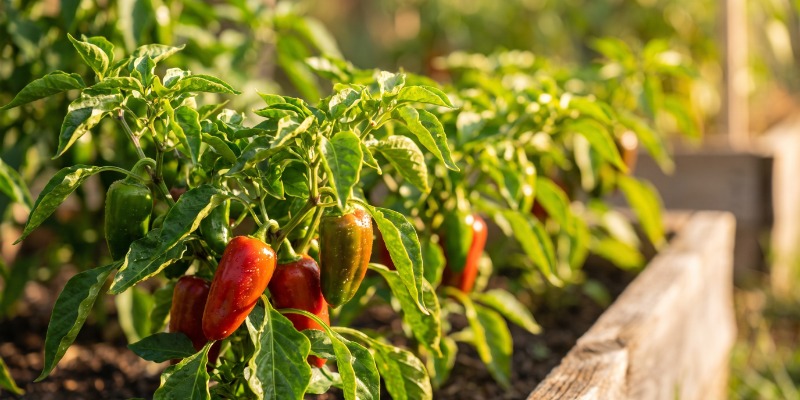
With the basics covered, here’s the practical side of fertilising your pepper plants.
Application: Liquid vs granular fertiliser
Pepper growers can administer nutrients either by adding them to the soil or spraying the leaves. The way you apply your fertiliser will largely depend on the specific product type and contents.
Liquid fertilisers are suitable for both of these applications. They first need to be diluted, and then you can water them into the soil as usual, or you can spray the leaves. A simple spray bottle is often enough to achieve this. For example, some pepper growers like to spray their plants with a phosphorus-rich solution to boost growth. Just make sure never to spray in excess, as this will do more harm than good.
Granular fertiliser, on the other hand, is made to be applied to the soil to be taken up by the roots. These formulas are often slow-release in nature, so you may find that one scoopful (for example) is enough to feed your plant over the course of several weeks. Be sure to keep up a regular watering and maintenance routine, and you’ll see your plant flourishing with minimal effort.
Should you give nutrients to pepper seedlings?
While many opt to provide nutrients to seedlings, some allow them to first grow of their own accord, only administering fertiliser once they’ve been transplanted into a bigger pot. If you do choose to feed your young plants, be extremely careful with dosing, even halving the product manufacturer’s dose recommendations if necessary.
Hot pepper fertilising tips
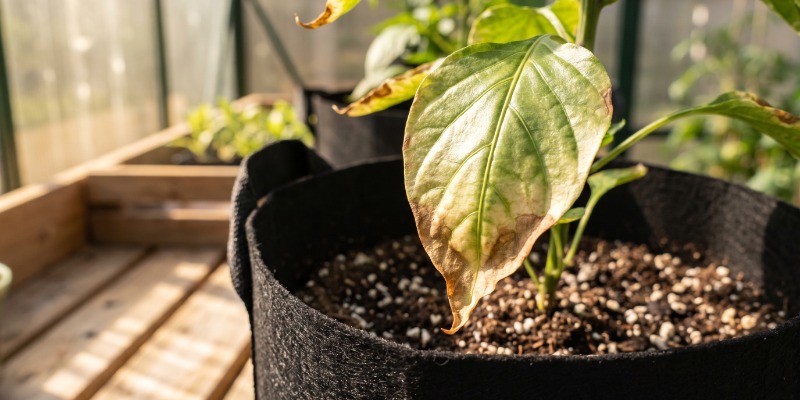
We’ve already hinted at a few pitfalls; here are the most common feeding issues and how to fix them. Here are some common issues and solutions surrounding pepper plant feeding.
Nutrient burn
Nutrient burn occurs when pepper plants are exposed to excess nutrients. This condition can be identified by observing the colour of the leaves. If you notice brown spots appearing, this could be a likely warning that your plant is experiencing nute burn. The brown spots themselves are a result of the nutrients travelling through the plant and having nowhere else to go, causing discolouration and burning. However, marks and spots on the leaves can also be an indication of diseases or pests, so be sure to rule those out before looking to amend your fertiliser schedule.
If it turns out that it is nutrient burn, you can easily dial back the amount of fertiliser, and that should be enough for the plant to correct itself. If not, continue with the next point.
Flushing
As mentioned, overuse of fertiliser will only damage your plants, and while dialling back the amount should remedy this, a more thorough method is known as flushing. This is achieved by watering your pepper plants without any additional nutrients, just plain old water. By drenching the substrate until water begins to drain out of the bottom of the container, the remaining nutrients and salts in the substrate will be rinsed out. This essentially “resets” the soil and allows you to administer nutrients again, knowing there isn’t a buildup lurking in the substrate.
While this is the perfect solution for those growing in containers, indoors or outdoors, those growing directly in the ground can flush by administering pure water for a couple of weeks before starting up with nutrients again.
Nutrient lockout
Another issue growers tend to encounter is incorrect pH. When it comes to your growing medium, chilli pepper plants tend to enjoy a pH level of 5.8–6.8. Any higher or lower, and the plant can struggle to absorb the nutrients provided. This phenomenon, known as nutrient lockout, is just as bad as giving your plants no nutrients at all! So it doesn’t matter if you’ve picked up the finest fertiliser filled with all the nourishment your plant needs; if the pH level in the soil is not correct, it won’t make a difference.
Check soil pH
So before anything, even before germinating your pepper seeds, check the pH level of your substrate to ensure you’re on the right track. This can easily be performed using a set of pH test strips, or, for a fuller picture, a pH & NPK soil test kit that also reads your nitrogen, phosphorus, and potassium levels. When it comes time to administer nutrients, make sure your solution is within the ideal pH window, and then measure the soil after feeding to ensure everything looks good.

Keep a close eye on your hot pepper plants
Keeping a regular maintenance schedule is paramount to producing superior chillies. As we’ve discussed, many symptoms of fertiliser-related issues manifest in the leaves. So be sure to pay attention to any changes in your plants, and you should be just fine.
Of course, dialling in the perfect feeding regimen comes with practice, so if you’re new to the process of cultivating chilli pepper plants, don’t worry. If you give your plants too much fertiliser, or too little, simply rectify the issue to the best of your ability, learn from your mistakes, and next time you’ll have even healthier and better-performing plants!
-
 5 min
27 March 2026
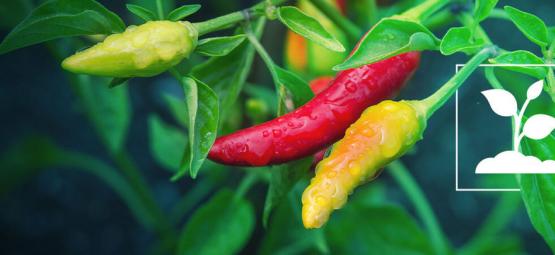
How to Grow Chillies: A Step-by-Step Guide for Outdoor Growing
Growing peppers at home can be a hugely rewarding task. Harvesting your own carefully cultivated chillies to use in cooking is a great feeling. But, from seed to harvest, how do you achieve this?...
5 min
27 March 2026
How to Grow Chillies: A Step-by-Step Guide for Outdoor Growing
Growing peppers at home can be a hugely rewarding task. Harvesting your own carefully cultivated chillies to use in cooking is a great feeling. But, from seed to harvest, how do you achieve this?...
-
 6 min
6 November 2025
Top 20 hottest peppers in the world (2026 edition)
Think you can handle the heat? Discover the 20 hottest peppers of 2026, from record-breaking Pepper X to legendary Carolina Reaper and Scotch Bonnet. Explore fiery heat levels, unique flavours, and...
6 min
6 November 2025
Top 20 hottest peppers in the world (2026 edition)
Think you can handle the heat? Discover the 20 hottest peppers of 2026, from record-breaking Pepper X to legendary Carolina Reaper and Scotch Bonnet. Explore fiery heat levels, unique flavours, and...
-
 7 min
4 March 2022
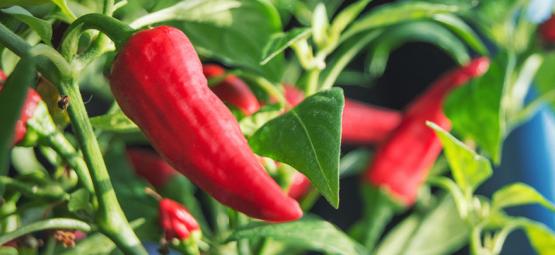
How To Grow Hot Peppers Indoors
Growing chillies might seem like a complicated task, but we're here to tell you that it really needn't be. Even if you don't have an adequate space outside to grow them, you can produce some...
7 min
4 March 2022
How To Grow Hot Peppers Indoors
Growing chillies might seem like a complicated task, but we're here to tell you that it really needn't be. Even if you don't have an adequate space outside to grow them, you can produce some...
-
 4 min
18 February 2022
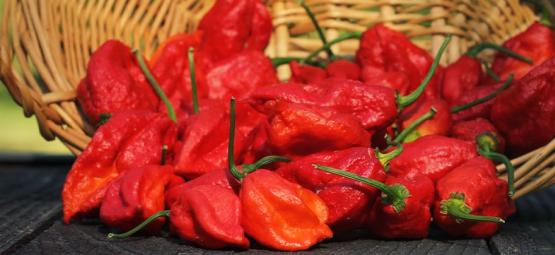
Tips For Growing Hotter Chilli Pepper Plants
Surely it's down to chance just how hot your chilli peppers can be, right? Well, while various factors determine spice level, there are actually several things you can do to really get the hottest...
4 min
18 February 2022
Tips For Growing Hotter Chilli Pepper Plants
Surely it's down to chance just how hot your chilli peppers can be, right? Well, while various factors determine spice level, there are actually several things you can do to really get the hottest...
-
 5 min
24 January 2022
When And How To Harvest Hot Peppers
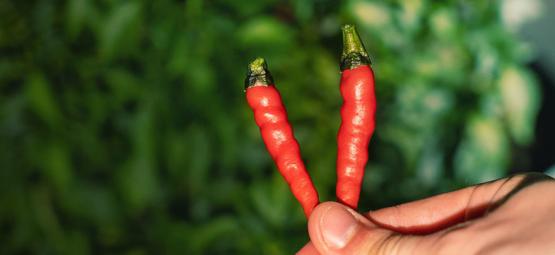
You've taken the time to cultivate hot peppers, giving them everything they need to flourish throughout their growing cycle. Yet, arguably the most critical moment is fast approaching; when and how...
5 min
24 January 2022
When And How To Harvest Hot Peppers
You've taken the time to cultivate hot peppers, giving them everything they need to flourish throughout their growing cycle. Yet, arguably the most critical moment is fast approaching; when and how...
-
 4 min
5 August 2021
Hot Peppers And The Scoville Scale
There's no denying the appeal of spicy food. Whether you're keen on Mexican delicacies, Pad Thai, or Vindaloo curries, they have one thing in common; peppers.
4 min
5 August 2021
Hot Peppers And The Scoville Scale
There's no denying the appeal of spicy food. Whether you're keen on Mexican delicacies, Pad Thai, or Vindaloo curries, they have one thing in common; peppers.