 8.6 out of 10 based on 81059 reviews







.svg)
.svg)
.svg)
.svg)
.svg)
.svg)



 Mushroom Dosage Calculator


 Help
Help United States
The Vegetative Phase Of Cannabis Cultivation
Veg is where your cannabis plant builds the roots, stems and leaves that set its yield ceiling. Learn the ideal light schedule, spectrum and environment, an eight-step routine from transplant to flip, plus LST, topping and FIM. Covers photoperiod and autoflower plants, with fixes for common problems.
The vegetative stage is when a cannabis plant builds roots, stems, and leaves before any flowers form, setting the structural foundation for yield. Photoperiod plants veg for 2–8 weeks under 18/6 light; autoflowers run shorter on their own genetic clock. Here you control light, nutrients, training, and environment. Build strong structure now, because weak frames and stress during the cannabis vegetative stage compound into smaller harvests come flower.
Optimal conditions for healthy vegetative growth
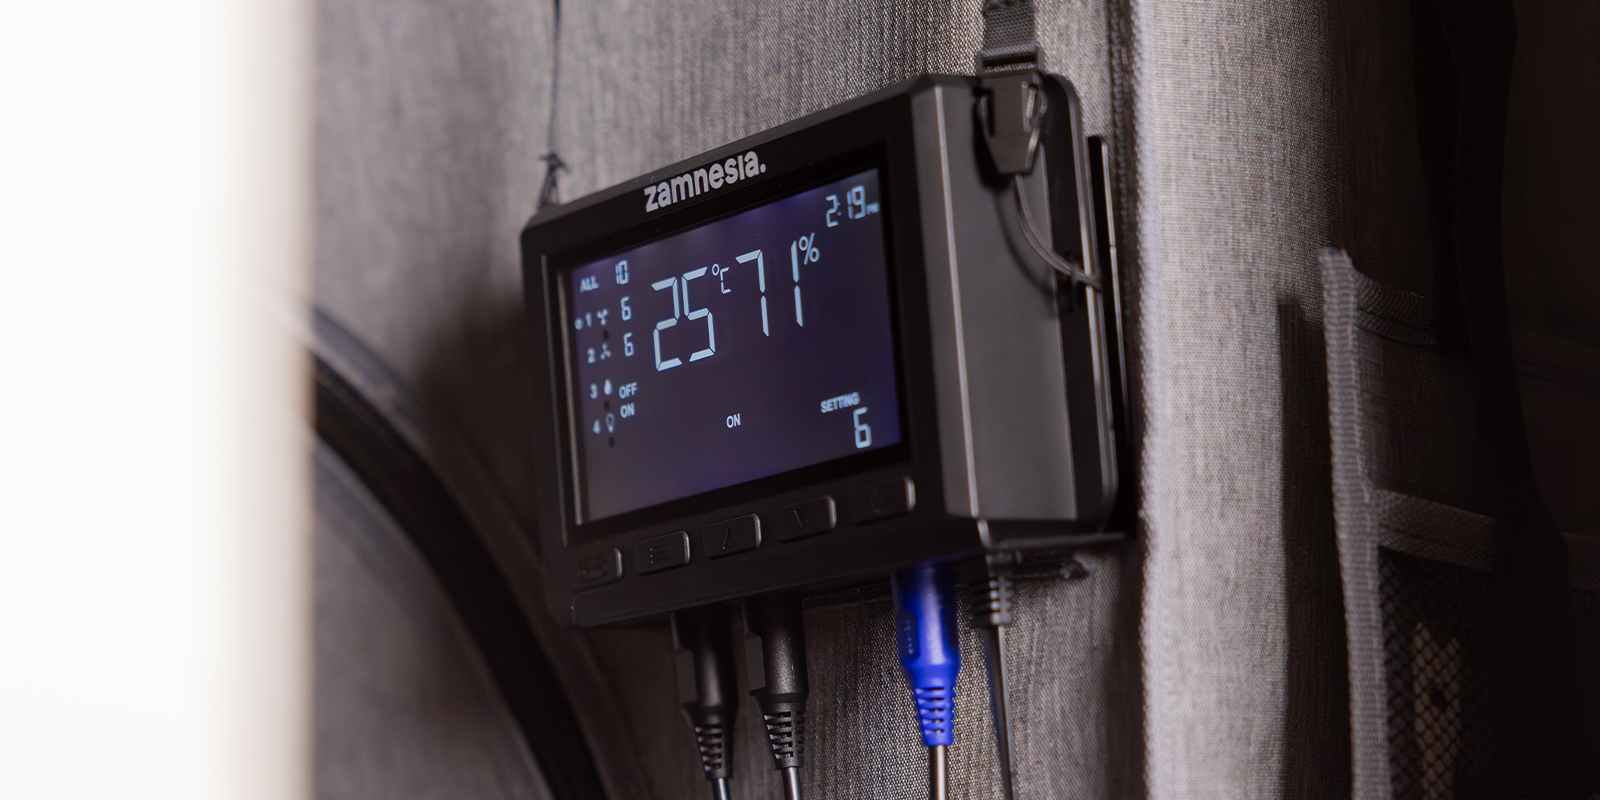
Light drives veg. Indoor photoperiod plants thrive on an 18/6 schedule, though 16/8 also works and trims a little electricity. Run a blue-dominant spectrum around 5000–7000K to encourage tight internodes and compact, leafy structure rather than stretch.
Hold the grow space within these ranges through veg:
- Daytime temperature: 20–28 °C
- Night-time temperature: 15–20 °C
- Relative humidity: 50–70% RH
- Light spectrum: blue-dominant, 5000–7000K
- CO2: ambient ~400 ppm is fine
CO2 enrichment is rarely worth the effort here. Pushing to 800–1200 ppm only pays off in a sealed room running high light intensity, where the plant can actually use the extra carbon. In an ordinary tent, fresh air exchange covers your needs.
Outdoors the rules shift. Plants veg through spring and early summer on natural daylight, and the length of that window is decided by when you plant and your latitude. The further north you grow, the longer the summer days, so veg can run longer before shortening light triggers the flip, though the overall outdoor season is also shorter.
Autoflowers ignore all of this scheduling. They flower on age, not on a change in light hours, so you never need to cut their day length. Run them on 18/6, or even 20/4, from seed to harvest for maximum light without forcing a transition.
Equipment and materials for the vegetative stage
Before plants enter veg, gather the physical kit that keeps them fed, supported and growing evenly.
- Grow light: an LED or HID fixture, around 200–400 W for a 1 m² tent; a range of both is available in the Zamnesia Growshop.
- Growing medium: soil for forgiveness, coco coir for faster feeding control, or a hydroponic system for the quickest growth.
- Containers: start seedlings or clones in 1–3 L pots, then transplant up to 5–11 L as the root system fills out; sizing up in stages keeps young roots from sitting in cold, wet medium.
- pH meter: to dial in the root zone, targeting pH 6.0–7.0 in soil and pH 5.5–6.5 in coco or hydro.
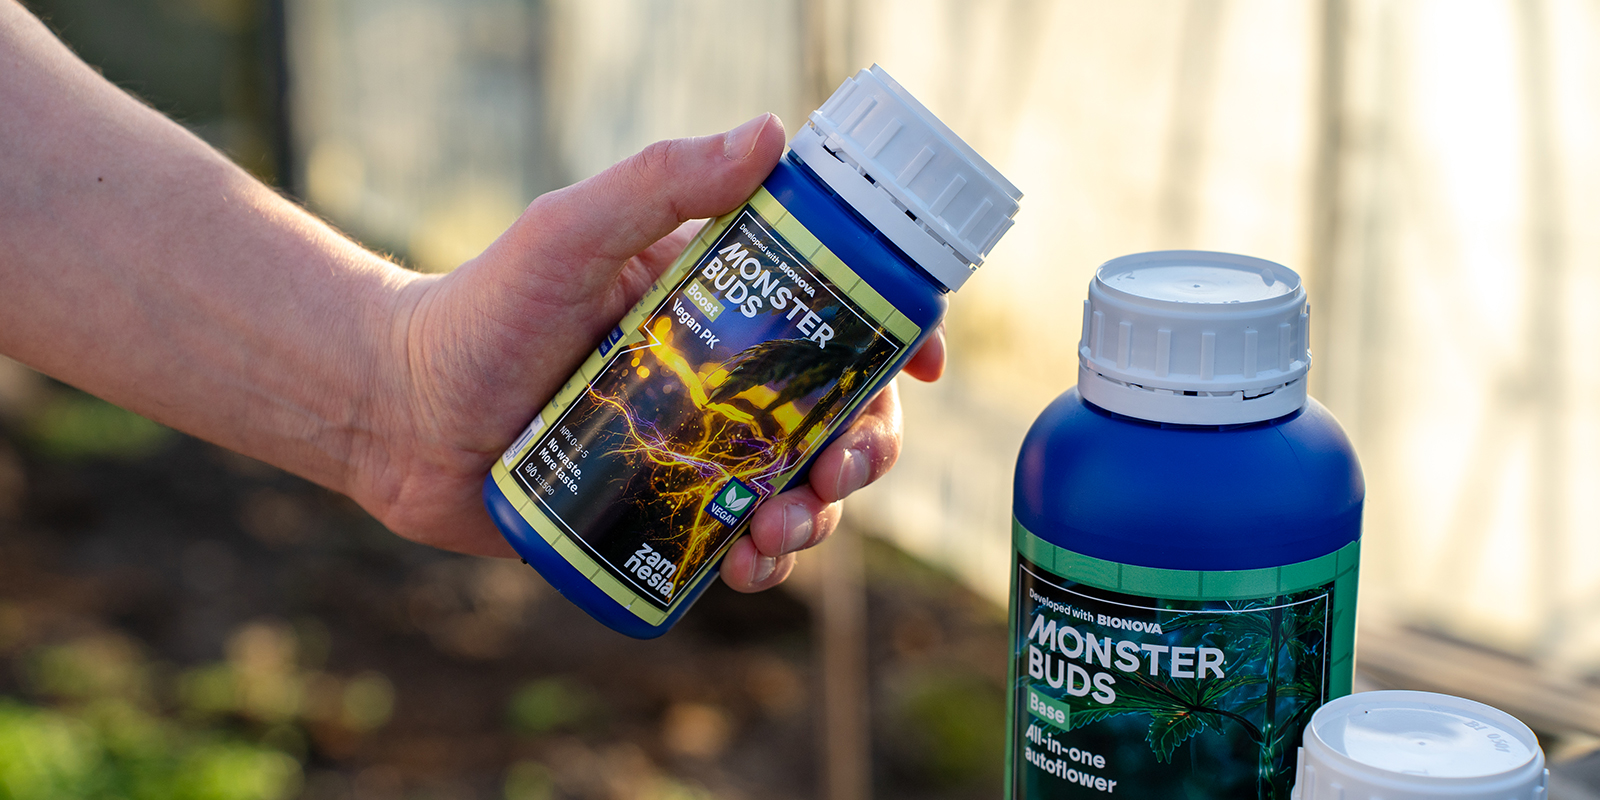
- Nutrients: a nitrogen-heavy veg formula to drive leafy growth, with veg and bloom lines stocked in the Zamnesia Growshop.
- Training tools: soft plant ties or wire, a trellis (ScrOG) net for an even canopy, and a clean scalpel or scissors for topping.
The vegetative stage: Step-by-step method
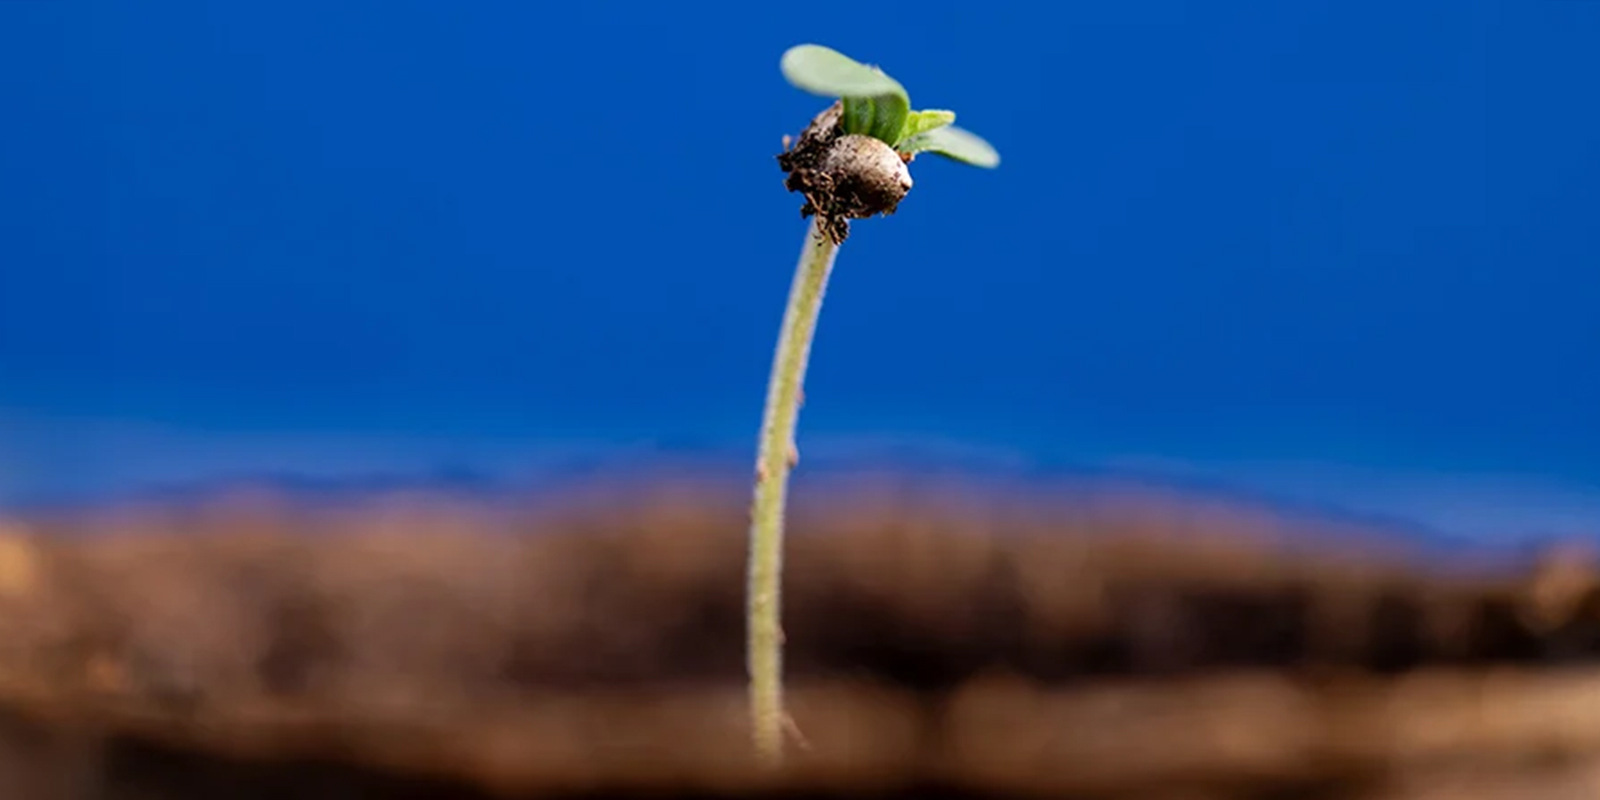
- Step 1: Once a plant clears the seedling stage, transplant it from its starter pot into its veg container as roots fill the small pot. Move it when roots poke through the drainage holes and new growth speeds up; healthy white roots circling the old rootball are the green light to pot up. Settle the rootball into pre-moistened medium at the same depth it sat before, and water it in lightly to close any air gaps around the roots.
- Step 2: Dial in the light schedule and hang distance. Keep LED panels 40–60 cm above the canopy and HID lamps 50–80 cm, then watch how the plant responds. Tight internodal spacing means the intensity is right; stretchy, leggy growth with long gaps between nodes tells you the light is too far away or too weak, so lower it in small steps.
- Step 3: Give the first feeding at 25–50% of the recommended nutrient strength once the plant has its first true serrated leaves. Aim for deep green new growth with no scorched, crispy leaf tips. If tips burn, flush with plain pH-corrected water and drop the concentration before feeding again.
- Step 4: Set a watering cadence by weight, not by clock. Water when the top 2–3 cm of medium is dry, which usually lands every 2–3 days, and let the pots get noticeably light before the next round. Lift them to learn the difference: heavy straight after watering, much lighter when the roots are ready for more. This wet-then-dry swing pulls oxygen to the roots and drives faster growth.
- Step 5: Introduce low-stress training (LST) at week 2–3, once 3–4 nodes are visible. LST means gently bending and tying the main stem outward rather than cutting it, which opens the canopy so light reaches lower bud sites. Use soft ties and reposition them every few days as the plant fills out the space. See our plant training guide for tie-down patterns.
- Step 6: Top or FIM at node 4–6 to turn one dominant tip into several even colas. Be honest about the cost: topping sets the plant back about 5–7 days while it recovers, though it can increase canopy coverage and the number of bud sites. Autoflowers tolerate this poorly because of their fixed timeline, so train them lightly or skip high-stress topping altogether.
- Step 7: Identify and remove male plants before any pollen sacs open. Males show ball-shaped pre-flowers at the leaf nodes, usually from week 4 to 6, while females push out fine white pistils, and our guide to identifying plant sex walks through both. Pulling males early prevents pollination and seedy buds. This only matters for photoperiod plants from regular seeds; feminised and autoflower seeds rarely need the check. Tracking each plant with a vegetative stage week by week pictures log makes these subtle sex signs far easier to spot.
- Step 8: Switch photoperiods to 12/12 to trigger flowering once the plant reaches 30–50% of its desired final height, since plants stretch hard through early flower. Our notes on the switch to flowering cover the timing in more detail. Autoflowers need no schedule change, as they flower on their own once mature.
Common vegetative stage problems and fixes
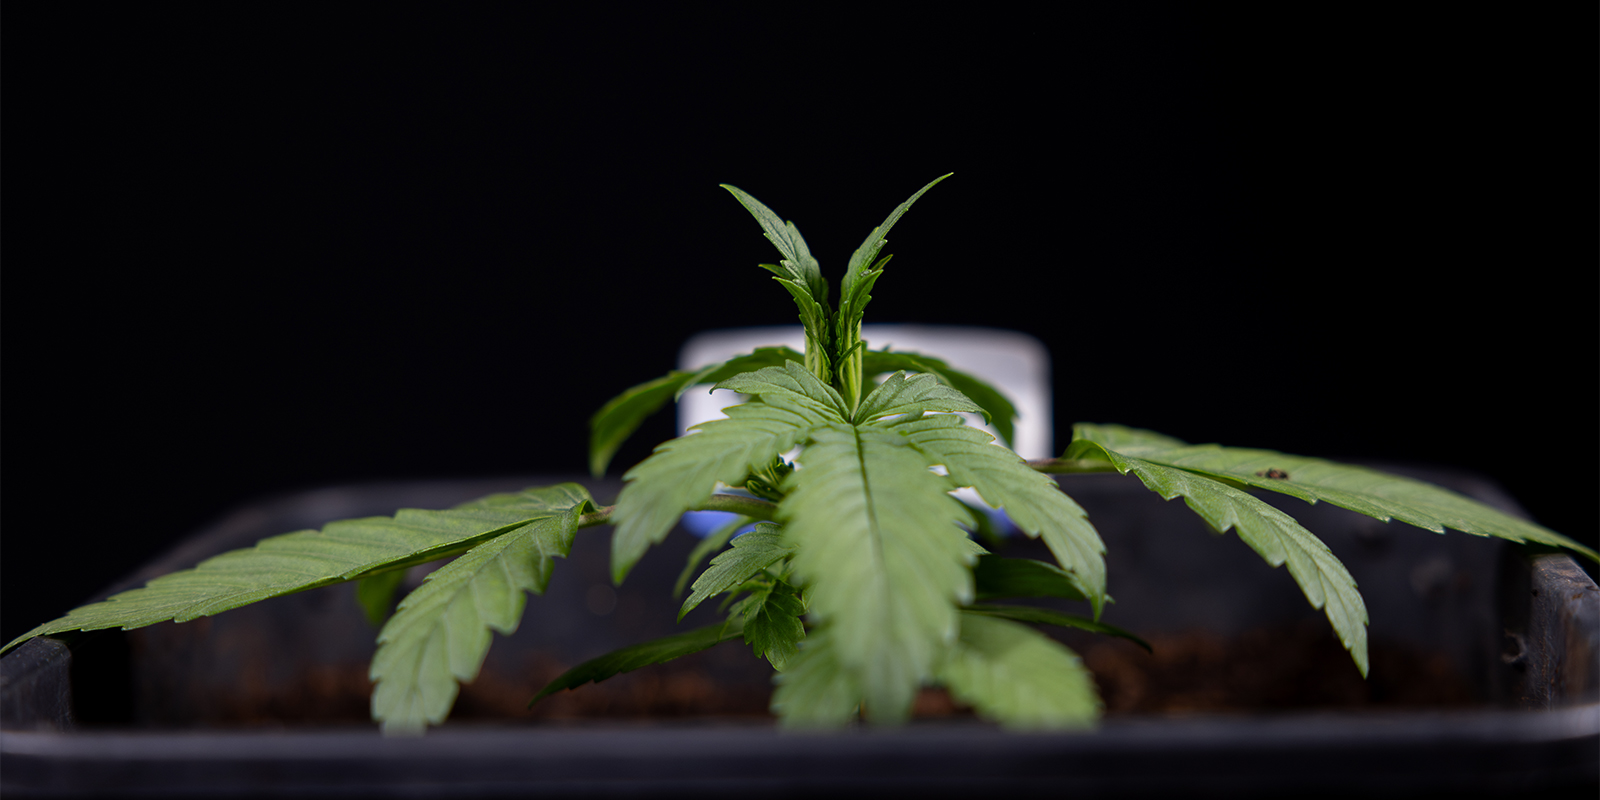
Check your plants daily during veg: look over the leaves top and bottom, confirm the environment is on target, and test that the top of the medium has dried before you water again. Most veg trouble shows up first on the leaves, so catching it early keeps a small issue from stalling growth. Use the table below to match what you see to a quick, specific fix.
ProblemFix
Nitrogen deficiency: lower, older leaves yellow first and the fade creeps upward.Increase the nitrogen in your feed, then recheck runoff pH so the nitrogen is actually available to the roots.
Overwatering: leaves droop and curl, and growth slows even though the plant is fed.Let the medium dry out fully between waterings and water by pot weight, lifting the pot to judge when it is light enough.
Light burn: bleached or yellow-white tips on the upper leaves nearest the lamp, with edges starting to claw.Raise the light 10–15 cm, then recheck the canopy after a day and adjust again if the bleaching spreads.
pH lockout: several deficiency signs appear at once despite a correct feed.Test runoff pH, then flush with pH-correct water (6.0–7.0 in soil, 5.5–6.5 in coco or hydro) to free up locked-out nutrients.
Pests: spider mites leave tiny speckling and fine webbing under the leaves; fungus gnats appear as small flies with larvae in wet topsoil.Act at the first sign. Dry out the topsoil to break the gnat cycle, hit mites with neem or insecticidal soap, and isolate affected plants so the problem does not spread.
Strong Vegetative Growth, Stronger Flower
Everything that follows hinges on these weeks. A plant that vegetates in a stable, well-tuned environment with clean training carries that vigour straight into flower, where good structure pays off in even bud sites and easier canopy management. With your space dialled in, the natural next move is matching it to genetics and gear built for strong vegetative growth, so your setup and your plants pull in the same direction.